
Table of Contents
- Understanding Your Health O Meter Scale Features
- Step-by-Step Guide to Calibrating Your Scale
- Troubleshooting Common Health O Meter Scale Issues
- Maximizing Accuracy with Proper Weighing Techniques
- Maintenance Tips for Long-Lasting Scale Performance
- Q&A
- Future Outlook
Understanding Your Health O Meter Scale Features
When it comes to tracking your weight, a Health O Meter scale offers an array of features designed to streamline your experience. One of the most significant attributes is the automatic shut-off function, which conserves battery life and ensures that the device lasts longer between replacements. Additionally, many models come equipped with memory storage capabilities, allowing you to save previous readings and compare them with current ones. This feature is especially beneficial for those monitoring their weight for health goals over time.
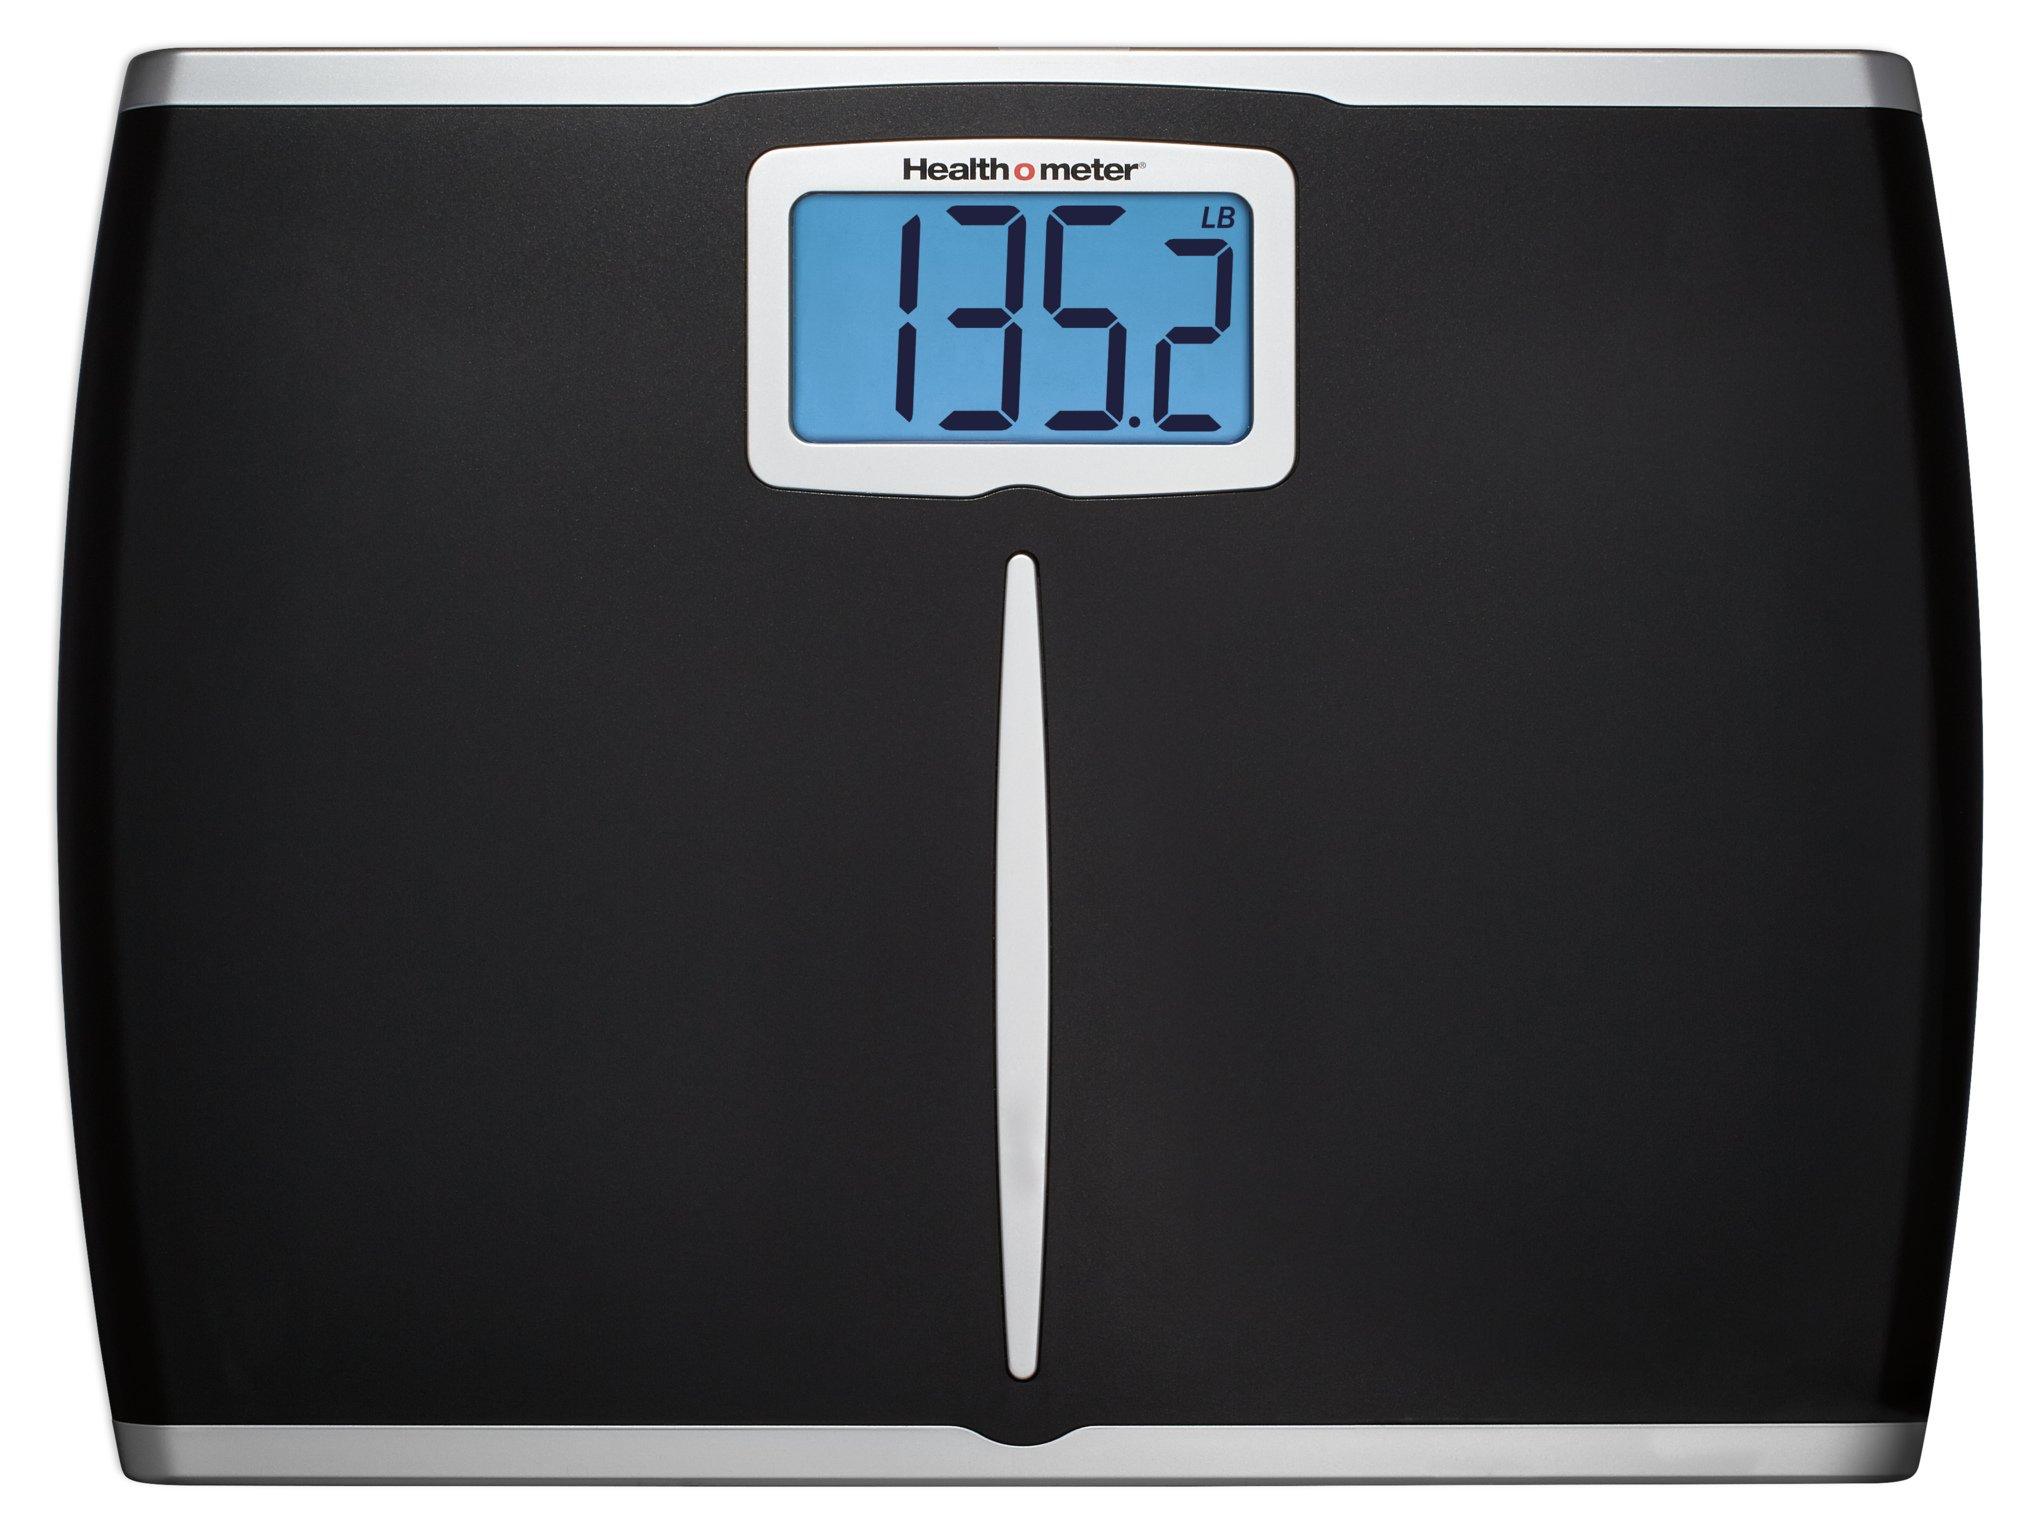
Another integral component of the Health O Meter scale is its large, easy-to-read display. The backlit screen enables clarity in low-light conditions, making it easier for users to read their measurements at any time of day. Coupled with a high weight capacity, these scales can accommodate a wide range of users without compromising accuracy. To enhance your experience further, many Health O Meter models also include a BMI calculator, providing an added layer of insight into your health status.
Durability and design play a crucial role in the effectiveness of a Health O Meter scale. Crafted from high-quality materials, these scales are built to withstand daily use while maintaining an aesthetic appeal that fits seamlessly into your home environment. Some models even feature non-slip surfaces for safety when stepping on and off. With user-friendly setups that often require no tools for assembly, getting started is straightforward and hassle-free. Here’s a simple overview of these features:
| Feature | Description |
|---|---|
| Automatic Shut-Off | Conserves battery life. |
| Memory Storage | Saves previous readings. |
| Large Display | Easy to read in all lighting. |
| BMI Calculator | Offers insights into weight status. |
| Durable Build | High-quality materials for longevity. |

Step-by-Step Guide to Calibrating Your Scale
Calibrating your Health o Meter scale is essential to ensure accuracy in your measurements. Start by placing the scale on a firm, level surface free from any obstructions. This location should be away from drafts, direct sunlight, and fluctuating temperatures which can impact the weighing process. Once positioned correctly, turn on the scale and allow it to warm up for a few seconds until the display reads “0.0.” This lets you know the scale is ready for calibration.
Next, you’ll need a known weight for calibration, such as a standard weight or a heavy object that you’ve measured previously. Place the weight on the scale gently, ensuring it’s centered for accurate results. Observe the display; if the reading does not match your known weight, you may need to adjust the scale. Many Health o Meter scales come equipped with a calibration mechanism. Check the user manual for specific instructions on how to adjust, often done through a series of button presses that may involve setting the display to show zero or inputting the standard weight.
After making the necessary adjustments, repeat the calibration process at least twice to confirm accuracy. Remove the weight and wait for the scale to return to zero before re-placing it. Record the weight readings for verification. If they still do not match, refer to the troubleshooting section of the Health o Meter manual for further assistance. Remember, maintaining your scale through regular calibration not only enhances its lifespan but also provides you with reliable weight measurements.
Troubleshooting Common Health O Meter Scale Issues
When your Health O Meter scale isn’t providing accurate readings, it can be frustrating. Start by ensuring that the scale is on a flat, stable surface, as misalignment may cause incorrect measurements. Calibration can also be a source of errors; to recalibrate, simply follow these steps:
- Remove any items from the scale.
- Power it on and wait for it to reset.
- Step on the scale to initialize.
- Wait for a zero reading before weighing yourself.
If you still encounter issues, check the battery or power source. Weak batteries might lead to inconsistency in readings. Replace the batteries promptly using the following guidelines:
| Battery Type | Recommended Replacement |
|---|---|
| AA Batteries | Every 6 months |
| 9V Battery | Annually |
Lastly, if your scale is still not working as expected, inspect for any signs of physical damage, including cracks or moisture. If the problem persists, consulting the manufacturer’s customer service or the user manual can provide additional troubleshooting options tailored for your specific model.

Maximizing Accuracy with Proper Weighing Techniques
To achieve the best results from your Health o Meter scale, it’s essential to adopt the right weighing techniques. A good starting point is to ensure your scale is placed on a stable and flat surface. Uneven flooring can lead to inaccurate readings, so consider using a hard surface like tile or wood rather than carpet. Additionally, ensure that it’s not exposed to direct sunlight or large temperature fluctuations, which can affect its performance.
Before stepping on the scale, it’s advisable to calibrate it regularly. Calibration ensures that the measurements remain accurate over time. Many scales feature a calibration mode; refer to your Health o Meter scale manual for specific instructions on how to calibrate yours. Furthermore, always weigh yourself at the same time of day, preferably in the morning, and under similar conditions—ideally, before eating or drinking to avoid fluctuations caused by daily activities.
When you’re ready to weigh yourself, stand still on the scale without shifting your weight. This helps in obtaining a consistent measurement. Consider these additional tips for improved accuracy:
- Remove heavy clothing: Ensure you’re not wearing shoes, jackets, or heavy winter clothing that could affect your weight.
- Steady your posture: Stand upright and look straight ahead, keeping your weight evenly distributed on both feet.
- Repeat measurements: For increased reliability, take multiple readings and calculate the average.

Maintenance Tips for Long-Lasting Scale Performance
To ensure the longevity of your scale and maintain its precision, regular maintenance is essential. Start by understanding the environmental conditions in which your scale operates. Keep it away from extreme temperatures and humidity, as these factors can affect its performance. Additionally, placing the scale on a sturdy, flat surface can prevent inaccuracies caused by uneven weight distribution.
Routine cleaning is vital for optimal performance. Use a soft, damp cloth to wipe down the scale’s surface, gently removing dust and debris. Avoid abrasive cleaners or harsh chemicals that could damage the display or the scale’s finish. After cleaning, ensure the scale is completely dry before using it again. Moreover, periodically check the battery level to ensure your scale operates without interruptions.
Lastly, consider calibrating your scale every six months. Calibration helps confirm that the measurements remain accurate. Here are a few simple steps to follow:
| Calibration Step | Description |
|---|---|
| Step 1: Turn On | Power on your scale and ensure it is set to zero. |
| Step 2: Apply Weight | Use a known weight (like a dumbbell) to check the accuracy. |
| Step 3: Adjust if Necessary | Follow the manufacturer’s instructions to make any adjustments. |
By incorporating these practices into your routine, you’ll not only enhance the accuracy of your scale but also extend its lifespan, ensuring reliable measurements for years to come.
Q&A
Q&A: Health O Meter Scale Manual
Q1: What is a Health O Meter scale? A: A Health O Meter scale is a reliable weighing device designed for both personal and professional use. Often found in homes, gyms, and medical facilities, these scales help individuals track their weight accurately, which is vital for health and wellness management. Q2: Where can I find the manual for my Health O Meter scale? A: You can find the manual for your Health O Meter scale on the official Health O Meter website in the support or downloads section. Alternatively, the manual may also be included with your purchase or can be located through a quick search online, often posted by other users or retailers. Q3: What kind of information is typically included in the Health O Meter scale manual? A: The manual usually contains important information such as setup instructions, calibration procedures, tips for accurate weighing, troubleshooting advice, and maintenance guidelines. It’s essentially your comprehensive guide to maximizing your scale’s use. Q4: How do I calibrate my Health O Meter scale? A: Calibration can vary by model, but commonly involves placing the scale on a flat, stable surface, ensuring it is zeroed out before use. Refer to your specific manual for detailed calibration steps tailored to your model to ensure accuracy. Q5: What should I do if my scale gives inconsistent readings? A: Inconsistent readings can often be corrected by ensuring the scale is on a level surface, checking for any obstructions, and calibrating it according to the manual’s instructions. If problems persist, consult the troubleshooting section of the manual or contact customer support. Q6: Are there specific maintenance tips I should follow for my Health O Meter scale? A: Yes, regular maintenance can enhance the lifespan of your scale. Keep it clean by gently wiping the surface with a damp cloth and avoiding harsh chemicals. Additionally, ensure it is stored in a dry place and away from extreme temperatures. Q7: Does the manual include warranty information? A: Most Health O Meter scale manuals will provide information regarding warranty coverage, including duration and conditions. If you’re unsure, you can always check the Health O Meter website or contact customer service for detailed warranty policies. Q8: Can I use the Health O Meter scale for body fat measurement? A: Some Health O Meter models come with additional features for measuring body fat percentage, while others may strictly focus on weight. Always refer to the specific model’s manual for detailed functionalities and measurements. Q9: Is there a section in the manual that explains the scale’s error messages? A: Yes, the manual should include a section that explains common error messages you might encounter during use, along with solutions to resolve them. This can help you troubleshoot issues without worry. Q10: What should I do if I’ve lost my Health O Meter scale manual? A: If you’ve misplaced your manual, don’t fret! You can easily download a PDF version from the Health O Meter website or find it through various online resources. It’s a simple way to regain access to the crucial information you need. By addressing common questions about the Health O Meter scale and its manual, this Q&A serves as a handy resource for both new and existing users, enhancing their experience with this vital health tool.Future Outlook


0 Comments